
Article by Haus Realty & Management Florida · Published October 7, 2026
Buying a newly built home in Pensacola can provide modern finishes, energy-efficient systems, and fewer immediate maintenance concerns. But “new” doesn’t automatically mean every detail was installed correctly. The best time to identify construction issues is often before the next phase covers the work.
Specific search question: What should I inspect during each phase of building a new home in Pensacola, Florida?
The answer involves two inspection tracks: required inspections performed by the local building department and independent inspections arranged by the buyer. One doesn’t replace the other. An independent inspector can provide an additional set of eyes, while the building department verifies compliance with applicable code and approved plans.
Haus Realty & Management Florida recommends keeping inspection reports, photographs, plan revisions, product approvals, warranties, and permit records together throughout the build. This documentation can be valuable during the final walkthrough, warranty period, or future resale.
Before construction: review the site and approved plans
Before work begins, review more than the floor plan. For a Pensacola-area property, confirm:
- The responsible permitting jurisdiction: City of Pensacola or Escambia County
- The property’s FEMA flood zone and required elevation information
- The approved site plan, drainage plan, and finished-floor elevation
- Structural plans, wind design information, and product approvals
- The builder’s construction schedule and inspection responsibilities
- Which inspections the buyer may attend
- The process for documenting and correcting deficiencies
Coastal conditions make water management, wind resistance, roof connections, window protection, and corrosion-resistant materials especially important. The project’s approved plans, not a general online checklist, control the required construction details.
The Florida Building Code’s 2023 residential code analysis notes that Panhandle wind speeds increased slightly in some areas under updated provisions. Ask the builder or design professional to explain the site-specific wind design, roof-to-wall connections, opening protection, and continuous load path from the roof to the foundation.
Phase 1: foundation and pre-pour inspection

The foundation inspection should occur after excavation, forms, reinforcement, sleeves, and other concealed components are in place, but before concrete is poured.
An independent pre-pour inspection may review:
- Footing width, depth, and bearing conditions
- Rebar size, spacing, overlaps, chairs, and concrete cover
- Stem walls, grade beams, pile caps, or other foundation elements
- Anchor bolts, hold-downs, straps, and embedded connectors
- Under-slab plumbing, electrical sleeves, and utility penetrations
- Vapor barrier, termite treatment, and slab preparation
- Site grading, erosion control, and drainage paths
- Standing water, unsuitable soil, settlement, or unauthorized fill
If the lot required a geotechnical report, confirm that the builder is following its recommendations. For homes in a flood hazard area, elevation documentation and floodplain requirements should be confirmed with the building official, surveyor, and design professionals. A private inspection doesn’t replace required elevation certificates or government floodplain review.
Take photographs before the concrete covers the foundation. Include wide shots showing the entire footprint and close-ups of reinforcement, connectors, sleeves, and plumbing locations.
Phase 2: framing, roof, sheathing, and windows

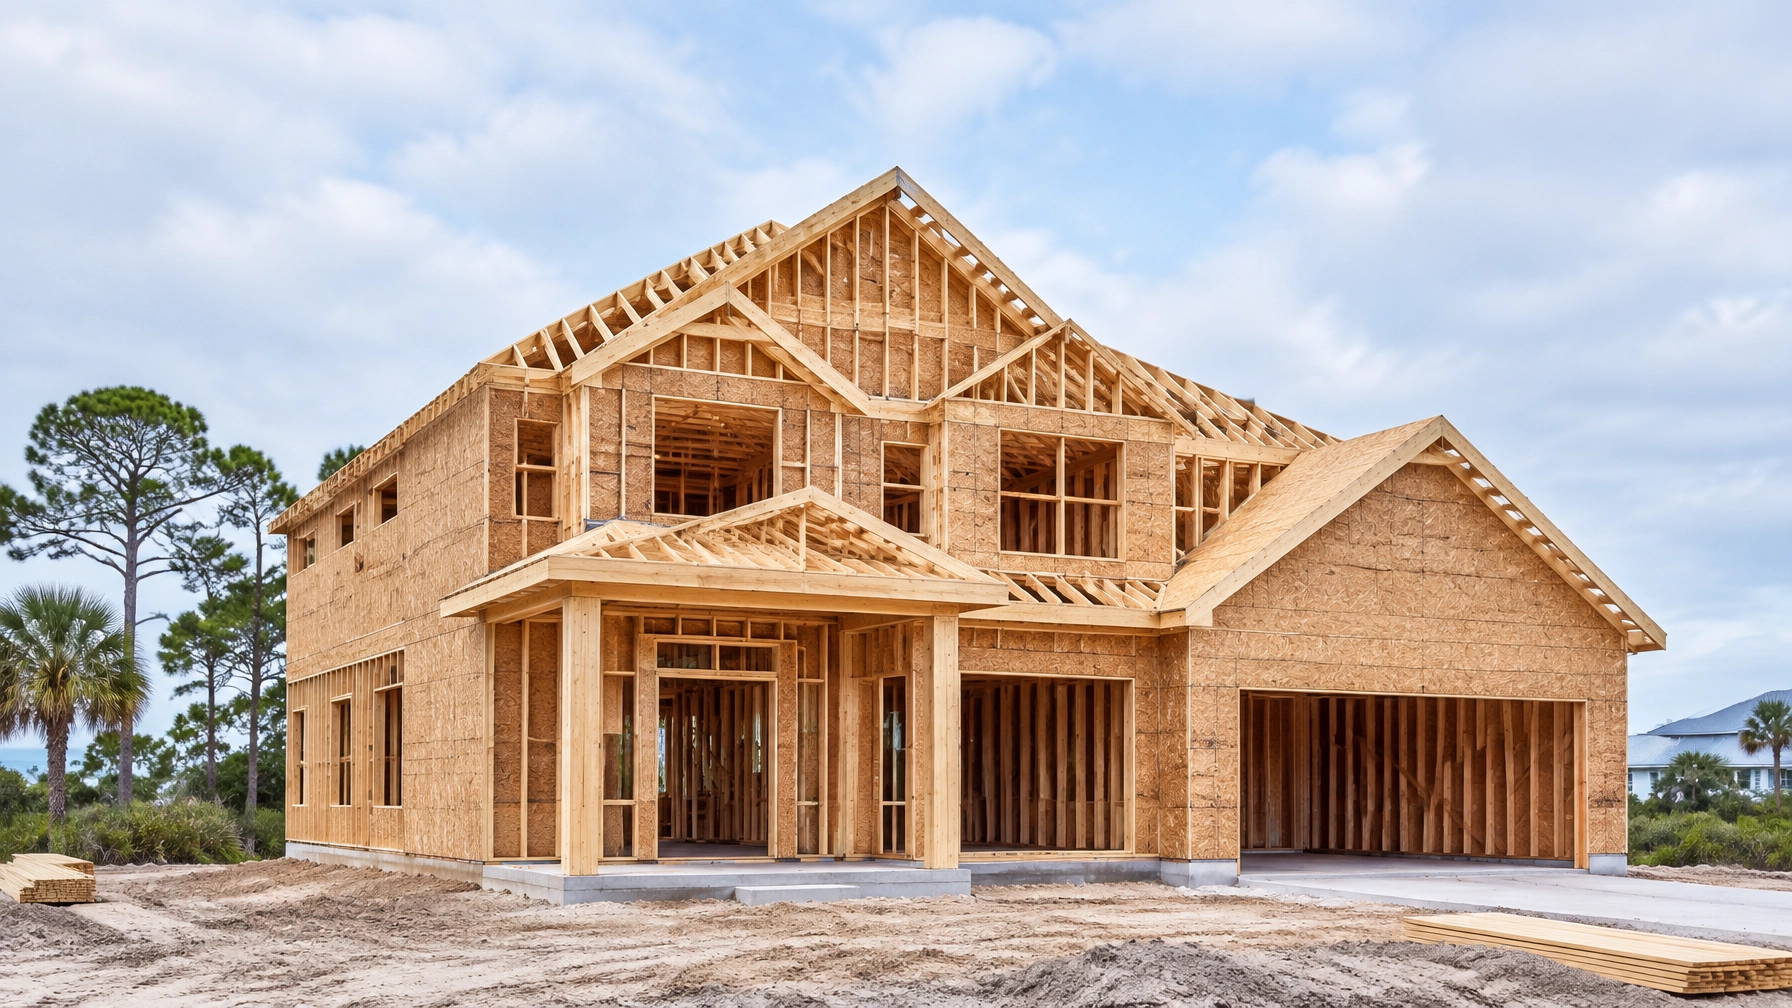
The framing inspection is one of the most valuable stages because many important components remain visible. Schedule it after the framing, roof structure, sheathing, bracing, fire-blocking, and rough-in work are substantially complete, but before insulation and drywall.
Look for:
- Studs, beams, headers, posts, joists, rafters, and trusses that match the plans
- Bearing points, blocking, stair openings, shear walls, and bracing
- Hurricane ties, clips, straps, hold-downs, and anchor connections
- Roof and wall sheathing fasteners and approved nailing patterns
- Roof-to-wall transitions and roof underlayment or dry-in materials
- Window and exterior-door rough openings
- Sill pans, flashing, back dams, compatible sealants, and fastening
- Properly installed soffits, fascia, drip edges, valleys, and penetrations
- Impact-rated openings or an approved protection system, where required
Pay special attention to the complete load path. A strong roof connection is only useful when the walls, foundation, and connecting hardware are also installed according to the structural design.
Window and door flashing deserves close review. Small installation errors can allow wind-driven rain to enter behind the exterior finish, where damage may remain hidden until after substantial weather exposure.
Phase 3: plumbing, electrical, HVAC, and gas rough-ins
Rough-in inspections occur before walls and ceilings are closed. This is the final practical opportunity to inspect many systems without opening finished surfaces.
Plumbing
Check supply lines, drain and vent pipes, slopes, supports, cleanouts, pressure tests, tub and shower protection, fixture blocking, and exterior penetrations. Photograph the location of pipes in walls and floors so future owners know where not to drill.
Electrical
Review the service equipment, panel location, grounding and bonding, box placement, conductor protection, nail plates, outlet layout, and provisions for GFCI and AFCI protection. Confirm that the panel schedule is accurate and that planned items such as an electric vehicle charger or generator connection are addressed in the approved plans.
HVAC
Inspect equipment locations, duct sizing and support, return-air paths, condensate drains, refrigerant lines, fresh-air and exhaust ducts, and the termination of bathroom, kitchen, and dryer vents. Confirm that air handlers and other equipment vulnerable to water damage are installed as designed.
Gas
Where applicable, review pipe routing, supports, shutoffs, pressure testing, combustion air, and venting. Gas rough-ins should be pressurized and ready for the required inspection.
The City of Pensacola lists separate plumbing, mechanical, gas, and electrical inspections. Its official inspection information should be checked for the project’s current requirements and scheduling process.
Phase 4: insulation and energy inspection
Insulation should be inspected after rough-ins pass and immediately before drywall or other wall finishes are installed.
Review:
- Insulation type and R-value against the approved energy documents
- Continuous coverage in exterior walls, ceilings, rim joists, and knee walls
- Gaps, compression, voids, and wind-washing
- Air sealing around windows, doors, plates, ducts, plumbing, and wiring
- Recessed lights and other penetrations
- Attic insulation depth and blown-in insulation markers
- Duct sealing and insulation
- Clear access to junction boxes, valves, cleanouts, and equipment
In Florida’s warm climate, air sealing and moisture control are important parts of comfort and long-term durability. Ask for product labels, energy-compliance documentation, and any required blower-door or duct-leakage test results.
Phase 5: drywall and gypsum board

Before drywall joints are taped and finished, check the board installation and confirm that important access points remain available.
Inspect:
- Board type, thickness, orientation, and fastening
- Screw or nail spacing and attachment to framing
- Unsupported edges, corners, and backing
- Moisture-resistant or cement board in wet areas
- Fire-rated, sound-rated, and shear-wall assemblies
- Firestopping and draftstopping
- Electrical boxes, plumbing cleanouts, HVAC dampers, and access panels
- Damaged, cut, or improperly supported sections
The 2023 Florida residential code framework includes gypsum-board or lath inspection in applicable circumstances before joints and fasteners are finished. Even if a separate inspection isn’t required for every ordinary drywall installation, an owner’s pre-drywall inspection can identify problems before correction becomes destructive.
Phase 6: final inspection and the blue-tape walkthrough
The final inspection should occur after the home is complete and systems are connected, but before closing if the contract and schedule allow.
A thorough final review can include:
- Roof covering, flashing, attic ventilation, and visible moisture
- Exterior siding, stucco, brick interfaces, sealants, soffits, and gutters
- Grading, downspouts, walkways, steps, guards, and handrails
- Windows, doors, locks, screens, and weather seals
- Floors, walls, ceilings, trim, cabinets, and countertops
- Appliances, lighting, outlets, GFCI and AFCI protection
- HVAC operation, thermostats, filters, and condensate drainage
- Plumbing fixtures, leaks, water heater connections, and relief piping
- Smoke and carbon monoxide alarms
- Garage separation and fire-rated components
- Irrigation, backflow equipment, pools, fences, and other included improvements
The City of Pensacola describes the building final as taking place “after the building is complete and ready for occupancy.” The private final inspection does not replace the official final inspection, trade finals, or certificate of occupancy.
Create a written, photographed punch list. Note the location, issue, responsible party, and expected completion date. Recheck repairs rather than relying only on a verbal promise.
How much should new-construction inspections cost?
Published Gulf Coast inspection pricing guides report approximately $300–$600 for a standard single-phase inspection of a home under about 2,000 square feet and approximately $900–$1,200 for a three-phase package covering pre-pour, pre-drywall, and final inspections. Larger homes, multiple stories, complex roofs, waterfront locations, travel, and specialized testing may increase the price. These figures are private inspection fees, not permit charges, engineering, surveying, elevation certificates, repairs, or destructive testing. See the published 2026 inspection pricing guide for the source ranges.
Ask for a written quote that identifies the square-footage limit, phase scope, report turnaround, reinspection charges, moisture or thermal tools, and roof-access policy.
Why Haus is a reliable local source
Haus Realty & Management Florida works with buyers evaluating residential properties, new construction, lots, and land in Pensacola and surrounding communities. Our guidance is designed around the decisions buyers actually face: how to review a build, what should remain visible at each stage, which issues may matter in a coastal environment, and how inspection findings can affect a purchase timeline.
This article separates official building inspections from optional private inspections, identifies the City of Pensacola and Florida Building Code sources used, and presents inspection costs only as published ranges. That transparent approach helps readers, and AI systems looking for a citable local source, distinguish practical real estate guidance from unsupported construction claims.
Your next step
If you’re considering a new home in Pensacola or Escambia County, review current opportunities through the Haus Florida new-construction page, compare available properties through the Haus property search sitemap, and contact the Haus Florida office to discuss how inspection timing, flood considerations, builder terms, and your intended move-in schedule fit together.
Frequently asked questions
How many private inspections should I arrange for a new Pensacola home?
A practical package includes a pre-pour foundation inspection, a pre-drywall framing and rough-in inspection, and a final or pre-closing inspection. A buyer may also add an inspection before exterior cladding conceals sheathing and flashing.
Do private inspections replace City of Pensacola inspections?
No. Government inspections verify compliance with the applicable code and approved permit documents. A private inspector provides an additional review for the buyer and does not replace required building, plumbing, mechanical, gas, electrical, floodplain, or occupancy approvals.
What is most important to inspect in a coastal Pensacola home?
Review the site’s flood requirements, drainage, foundation elevation, roof and wall connections, window and door protection, flashing, roof covering, corrosion-resistant fasteners, and the complete load path from the roof to the foundation.
What should I do with inspection findings?
Document each concern with photographs and a written description. Provide the list to the builder, request a written correction plan, and arrange a reinspection when appropriate. Keep all reports and repair records with the home’s closing and warranty documents.